Pizza Dough

Ingredients
- 375 g tipo 00 flour
- 244 g warm water
- 6 g salt
- 6 g active dry yeast
- 2 g sugar
- Olive oil
Instructions
Combine the yeast, warm water and sugar in a large mixing bowl and set aside until the yeast blooms. Next, add all the flour and salt and mix with your hands or a stand mixer until a shaggy dough forms. The dough will be very sticky. At this point, you can either oil your hands to continue kneading the dough or use the mixer to knead for another 10 minutes or so. Do not add any more flour. Continue kneading until the dough is smooth and can be formed into a ball. The dough will still be sticky at this stage. Oil a clean bowl and transfer the dough. Cover tightly with a lid or plastic wrap.
Overnight proofing: Place the dough into the refrigerator and let rest overnight until one or two hours before you’re ready to assemble the pizzas. Remove from the fridge and allow the dough to come to room temperature and rise until doubled. Since the dough was chilled, you may need to move the dough to a warm place. If your oven has a dough proof setting, you can use this after your dough has come to room temperature to shorten the proofing time. Once doubled, punch the dough down and divide it into two. Form two balls and let the dough rest for another 30 minutes to an hour before using.
Same day, slow rise: If it’s a cold day or you are able to control the temperature to ensure the dough stays relatively cool (55-65ºF or so) then you can leave it out covered and let it rise slowly, for three to four hours. Once the dough is doubled, punch it down and divide it into two. Form two balls and let the dough rest for another 30 minutes before using.
Same day, quick rise: A quick rise is not recommended because the dough flavors will not have a chance to develop. If you have a very warm place, around 80ºF, let the covered dough sit and double for about one hour. Form two balls and let the dough rest for another 30 minutes, up to an hour, before using.
To assemble: Preheat your oven to its highest temperature setting. If you have a baking stone, allow the oven to heat for a full hour. Oil your hands before handling the dough. Gently transfer one dough ball onto a cutting board lined with a sheet of parchment paper and carefully stretch out the edges, pulling from the center. You can also push the dough out from the center, rotating as you go, to form your pizza with a thicker edge around the outside. Take care not to over stretch as the dough will be very pliable and prone to tearing. Add your preferred toppings, being careful not to overload the dough. Lift your cutting board and pizza and carefully slide the pizza with the parchment paper onto your baking stone, or an inverted baking sheet. Let the pizza bake for about six minutes, at which point the dough should be set and starting to brown. You can carefully slide the parchment paper out from under the dough using some oven safe tongs. Continue baking for another five to seven minutes, or until the dough is deeply brown in spots and the toppings are fully cooked. You can carefully lift the pizza to check the underside for doneness. Remove from the oven and let cool on a wire rack while you repeat with the second ball of dough.
Recipe Notes
I worked on this recipe several times before landing on the ingredient ratio above. The method is one that I have been satisfied with for several years, but for whatever reason, as soon as I moved to a place with an electric convection oven, it seemed like my go-to pizza dough recipe was not working the way it used to when I had a gas oven. Either that, or my pizza standards have become more stringent over the years to the point where I require a high-end restaurant quality pizza from my home oven. I needed to achieve a dough that is BOTH springy and soft, BUT ALSO bubbly and crunchy on the outside, AND thin in the middle but structurally-sound, WITH the developed flavor of a neapolitan crust.
After lots of research, I decided to focus on dough hydration, or the ratio between the water and dry ingredients. I tried several different hydration levels, from 60% to 75%, and settled on 65% hydration. I used this Bread Calculator to determine the final weights of my ingredients knowing that I wanted to start with about 3 cups of flour and I also wanted 1.5% salt and 1.5% yeast for the recipe.
A high-hydration dough will produce the airy and bubbly dough qualities you want in a pizza, but the trade off is it’s more difficult to work with. I found 75% hydration is more work than I wanted, and even 65% is quite sticky and takes some practice to get it right. You will find that the dough this recipe produces is pretty wet and you’ll be tempted to add more flour. Don’t. If flour is added, the percent hydration will be reduced. Use oil to coat your hands and any bowls or containers used to hold the dough. Oil your hands again when it’s time to stretch the dough. Use my parchment paper trick* to transfer the dough to the oven. It will all work out. 🙂
There are also other important variables that must be considered for this dough and can’t really be substituted.
The flour variety is equally-important. Tipo 00 flour is finely milled, and can absorb water more easily than all purpose flour. And, because of its fine texture, Tip 00 produces a soft, airy pizza dough. If you make this dough recipe side-by-side with an all purpose flour substitute, you will notice a drastic difference. Tipo 00 flour can be ordered online.
The other essential pizza making component is a baking stone. Without a baking stone, it will be difficult to get a crisp bottom crust in your home oven. Since they are heavy and can be cumbersome to maneuver, I like the large rectangular stones that are the same width and height of the oven rack. By covering an entire rack, you have plenty of baking space and you can leave the stone in the oven 24/7. I place baking sheets right on top of the stone without issue. I use the stone to bake and warm loaves of crusty bread as well. I have a FibraMent stone and I love it - they offer several different sizes to choose from.
*The Parchment Paper Trick: The parchment paper transfer method I mention in the recipe above is meant to help novice bakers get this more advanced dough into the oven. By assembling your pizza on a sheet of parchment, then transferring it to a baking sheet or cutting board, then sliding the parchment and pizza onto the baking stone, you’ll be able to keep your pizza intact and avoid it sticking to any surfaces. With this wet dough, I highly recommend the parchment paper trick for your first time. Now the catch to the parchment paper trick is that you want to pull it out from under your pizza as soon as the bottom starts to set and is fully separated from the paper. You don’t want to burn the paper or start a fire, and you want to give the pizza plenty of baking time directly on the stone. Leaving the parchment under the pizza for the whole baking process can lead to the crust steaming instead of crisping.
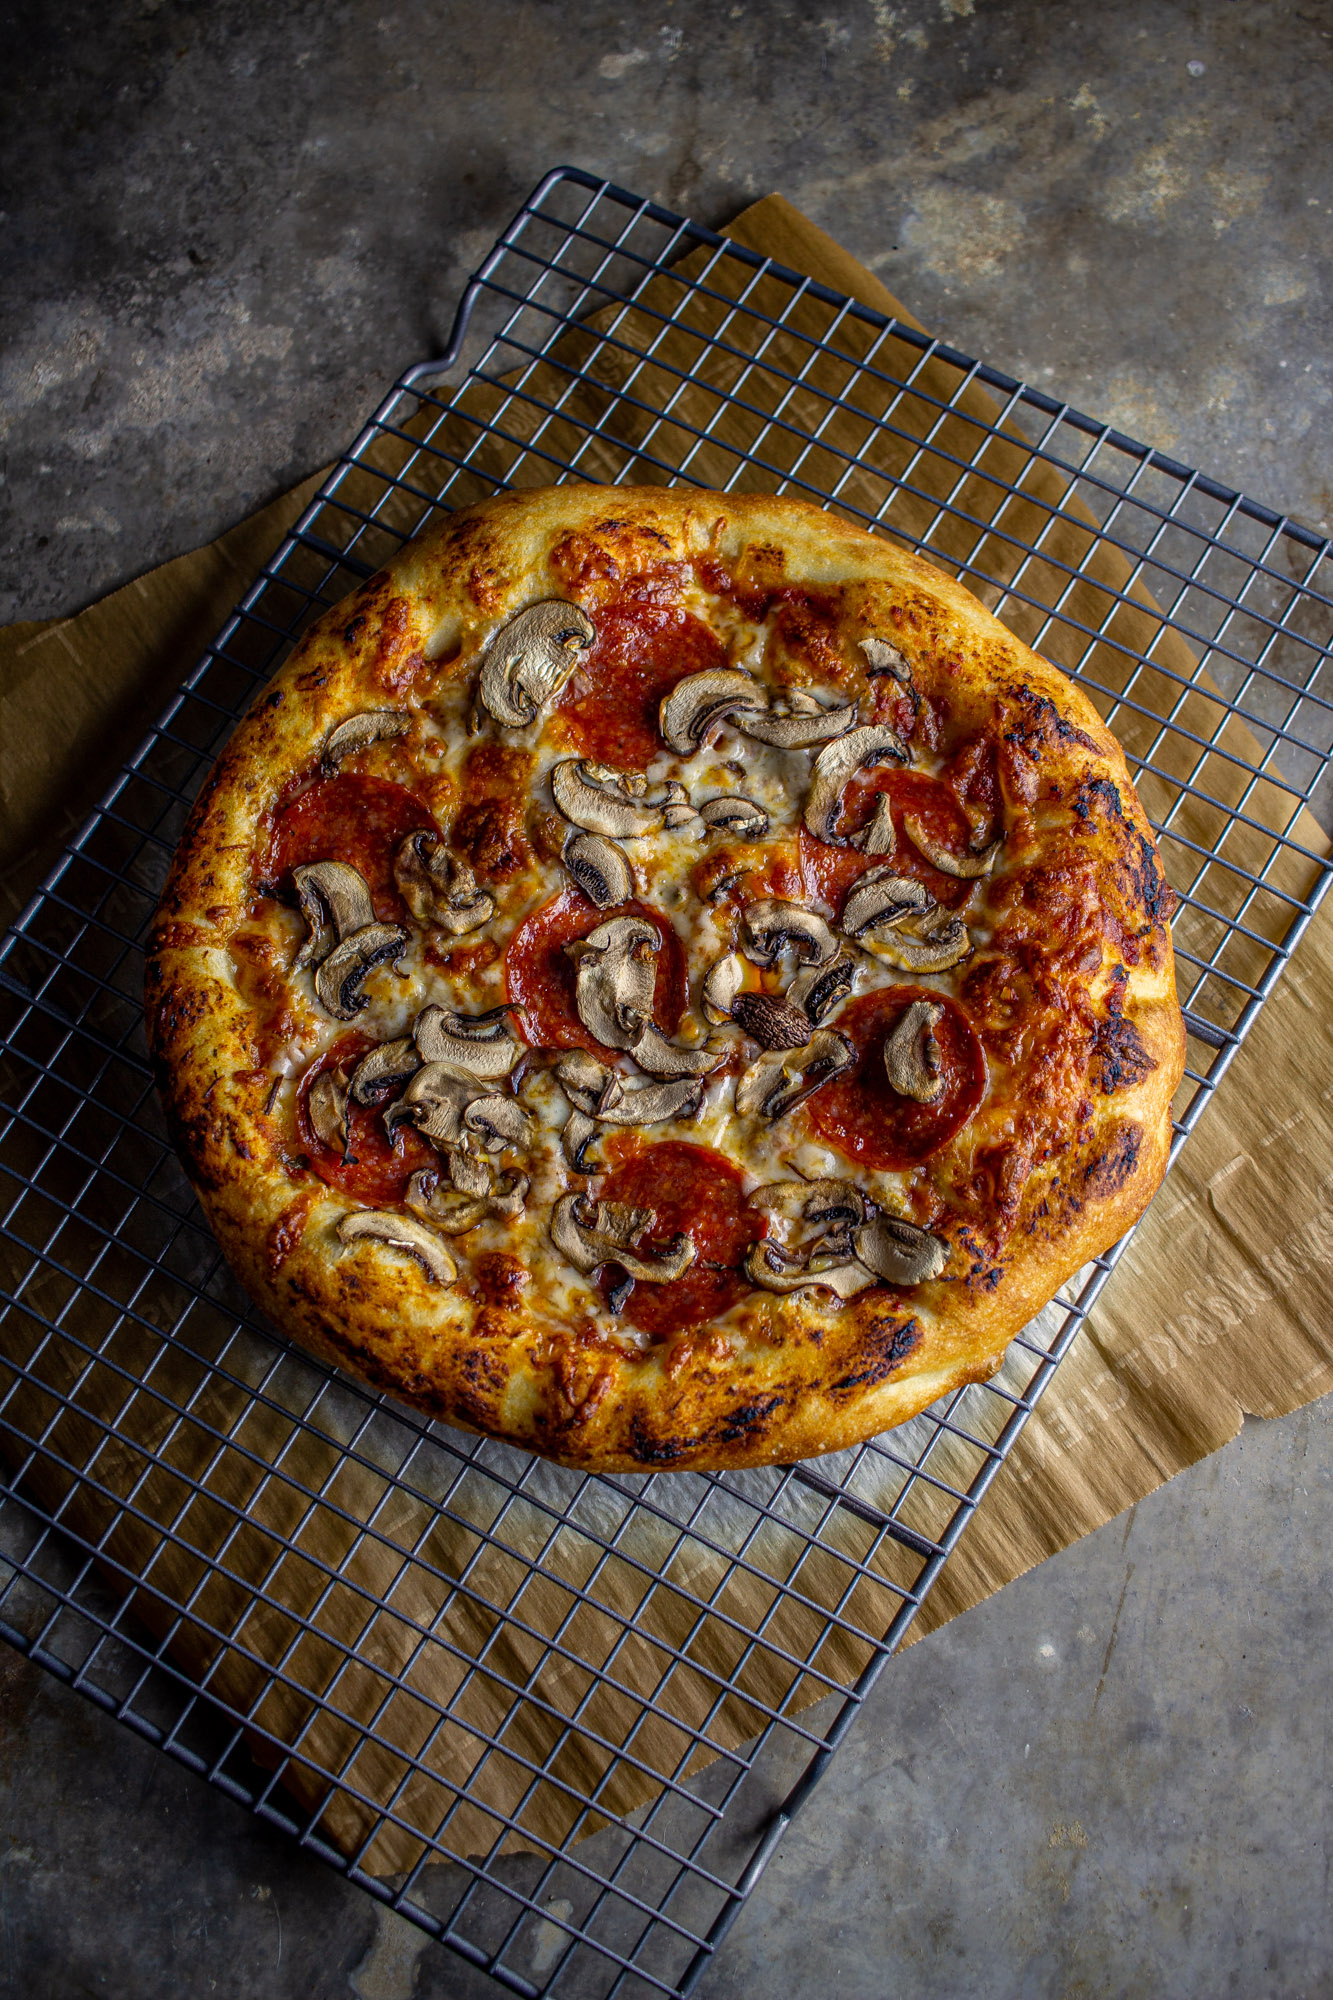
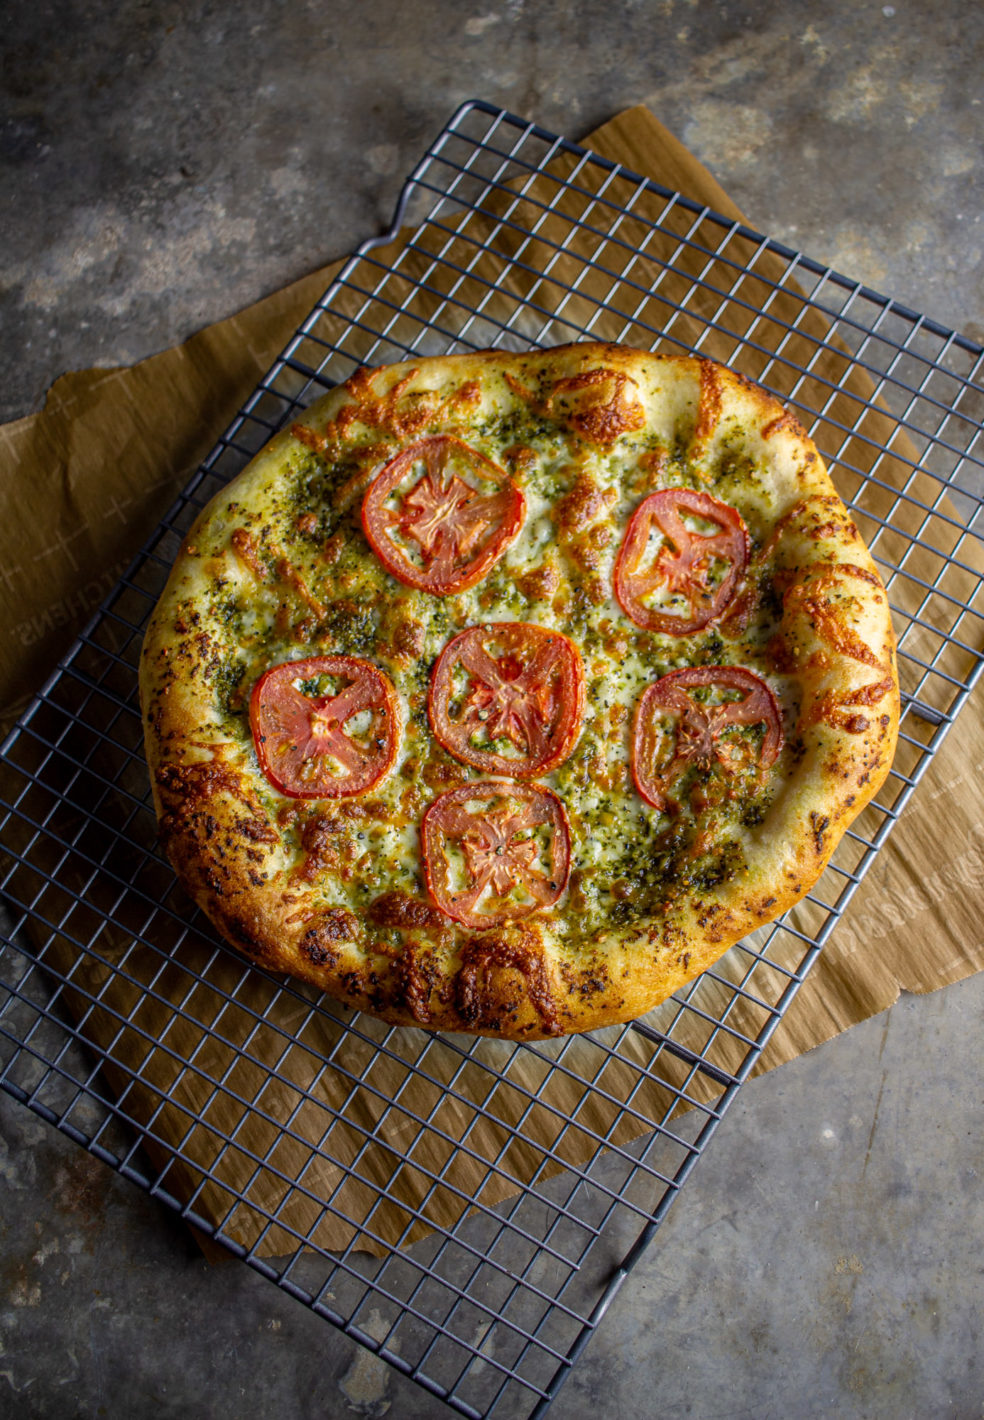
Ingredients Pictured: Pesto, low-moisture mozzarella and roma tomato. Marinara, low-moisture mozzarella, pepperoni and mushroom.
Good luck!